Saturday 30 April 2011

Spring Gardening


The Quick and Dirty Spring Garden Clean-Up

Who has the time? Really? As much as I find gardening soothing for my soul and helpful to my sleep, often times, I don’t have a lot of time to spend in my own garden. Gasp! I doubt you do either. So here is the short version to getting your lawn and garden up to speed and crossed off your “to do” list:


1.       Rake the grass. Simply, somewhat gently. Grass this time of year is usually wet, and anything wet tends to tear. You don’t want to damage your grass, just perk it up. Pick up the Tim Horton cups, the neighbor’s newspaper from last November and every errant leaf and piece of plastic that somehow made it to your lawn over the winter. Then fluff up the grass with your rake.


2.       Fertilize the grass.  This is pretty simple. You go to any garden center and head straight for the grass seed section and the fertilizer for your lawn will be right there. Then bring it home and apply it to your lawn according to the directions on the bag/box.


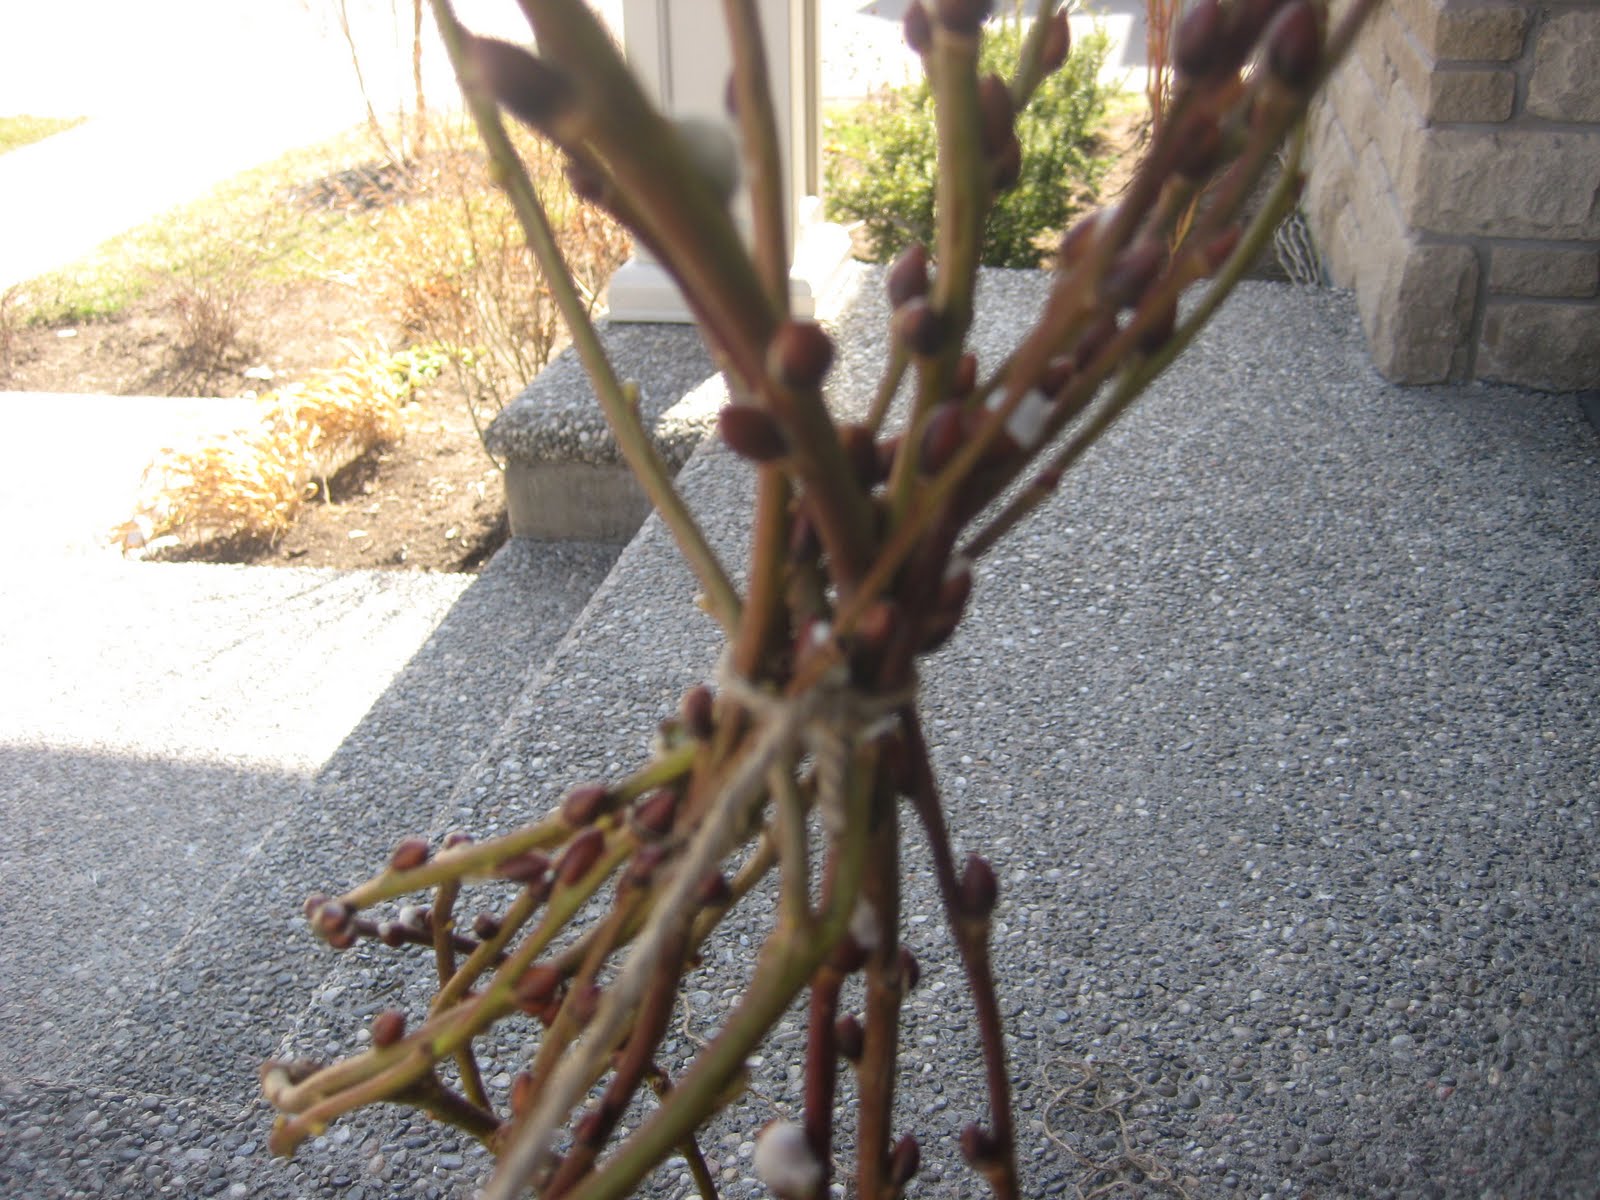
3.       Clean up the garden bed. I’m talking strictly about the mulch and soil areas. Take your hand rake and clean up all the old mulch and any garbage hanging about your plants. I like give the plants a little shake, like you would muss up a kid’s hair, just to loosen any debris and dead plant material. Herbaceous plants, those that die back after the winter, need to be trimmed too. It's as simple as snipping off the dead stems so that the new ones can grow.
Before


After...You couldn't see the new growth before the old was chopped off.


4.       Add compost and mulch. You need to feed your plants and a little compost/manure will do the trick.  There are all sorts of manure you can buy…cow, sheep, etc. You just sprinkle a layer on your garden bed and then top it off with some fresh mulch to keep out the weeds and keep in the moisture. I prefer black mulch; I just find it looks sharp.


5.       Cut back your ornamental grasses.  Although they were so beautiful all summer and fall, now is the time to cut them back. The easiest way to do this is gather them up and tie them with twine. Then take your loppers and chop the top off about 6 to 8 inches from soil level. Don’t be afraid. It’s all dead grass. You can’t kill it.

There are some grasses that don’t need to be cut back. They are evergreen (meaning they stay green all year long, in theory) or semi-evergreen. Carex and Sedge grasses fall into this category. If your grass was green in the summer and now it’s brown and dead looking, cut it back. If it was green in the summer and stayed pretty much green all winter, leave it alone.

Before


After


6.       Prune… carefully. Know what you are pruning. If you prune spring flowering shrubs first thing in the spring you won’t get any blooms, because you have just cut all the buds off. For spring blooming shrubs, like Lilac and Forsythia, wait until after they have bloomed. All other shrubs can be pruned whenever you’d like. However, it’s easier to do them in the spring before they have leafed out because you can see the structure of the shrubs.  Here is a link to an excellent article by Proven Winners on pruning:


7.       Edge the garden bed. Honestly, I hate doing this part but the garden always looks so sharp and neat after it’s done. You need a sharp square edged spaded. And it’s as simple as going around the perimeter of your garden bed and making a nice wedge cut all around. I prefer this natural edging to putting in the plastic garden edging that always seems to heave up over winter.

And you are done! Almost…


A few extra notes:

-If you live in a new subdivision and the guys with their little machines come around asking if you want your lawn aerated, say yes. Here is why: In order to build your house the contractor dug up a ridiculous amount of soil and clay. They dumped it beside what would now be your basement and carted some off. The rest they used to fill in around your foundation. For months, as they added beams and walls, trucks and more trucks have been driving up on what will one day be your front lawn. Then, sometime, seemingly years after you move in, the bobcats will be back to grade and spread a very thin layer of topsoil on your property. After that, they will lay grass and steal your sprinkler to water your neighbor’s lawn. What does this mean? It means that if you have grass that is growing and thriving it’s a miracle. But life will win out and so you probably have grass. After all, it’s a tenacious plant that often ends up where you don’t want it, like cracks in your driveway, so why not your lawn. But the soil under your grass is compacted. It’s clay that has been squished down by bobcats and now kids and dogs. Aerating pulls out little plugs of soil and grass, like a reverse hair transplant. It gives the roots of the grass some air (hence “aerating”) and room to grow. I always like to throw some grass seed over the lawn after it’s been aerated, why not? Aerating is not something you can do yourself unless you go and rent the machine from your local hardware store. And it’s not worth the cost and energy unless you and a couple of neighbors go in on it together. So just say “yes” when they come by your door.

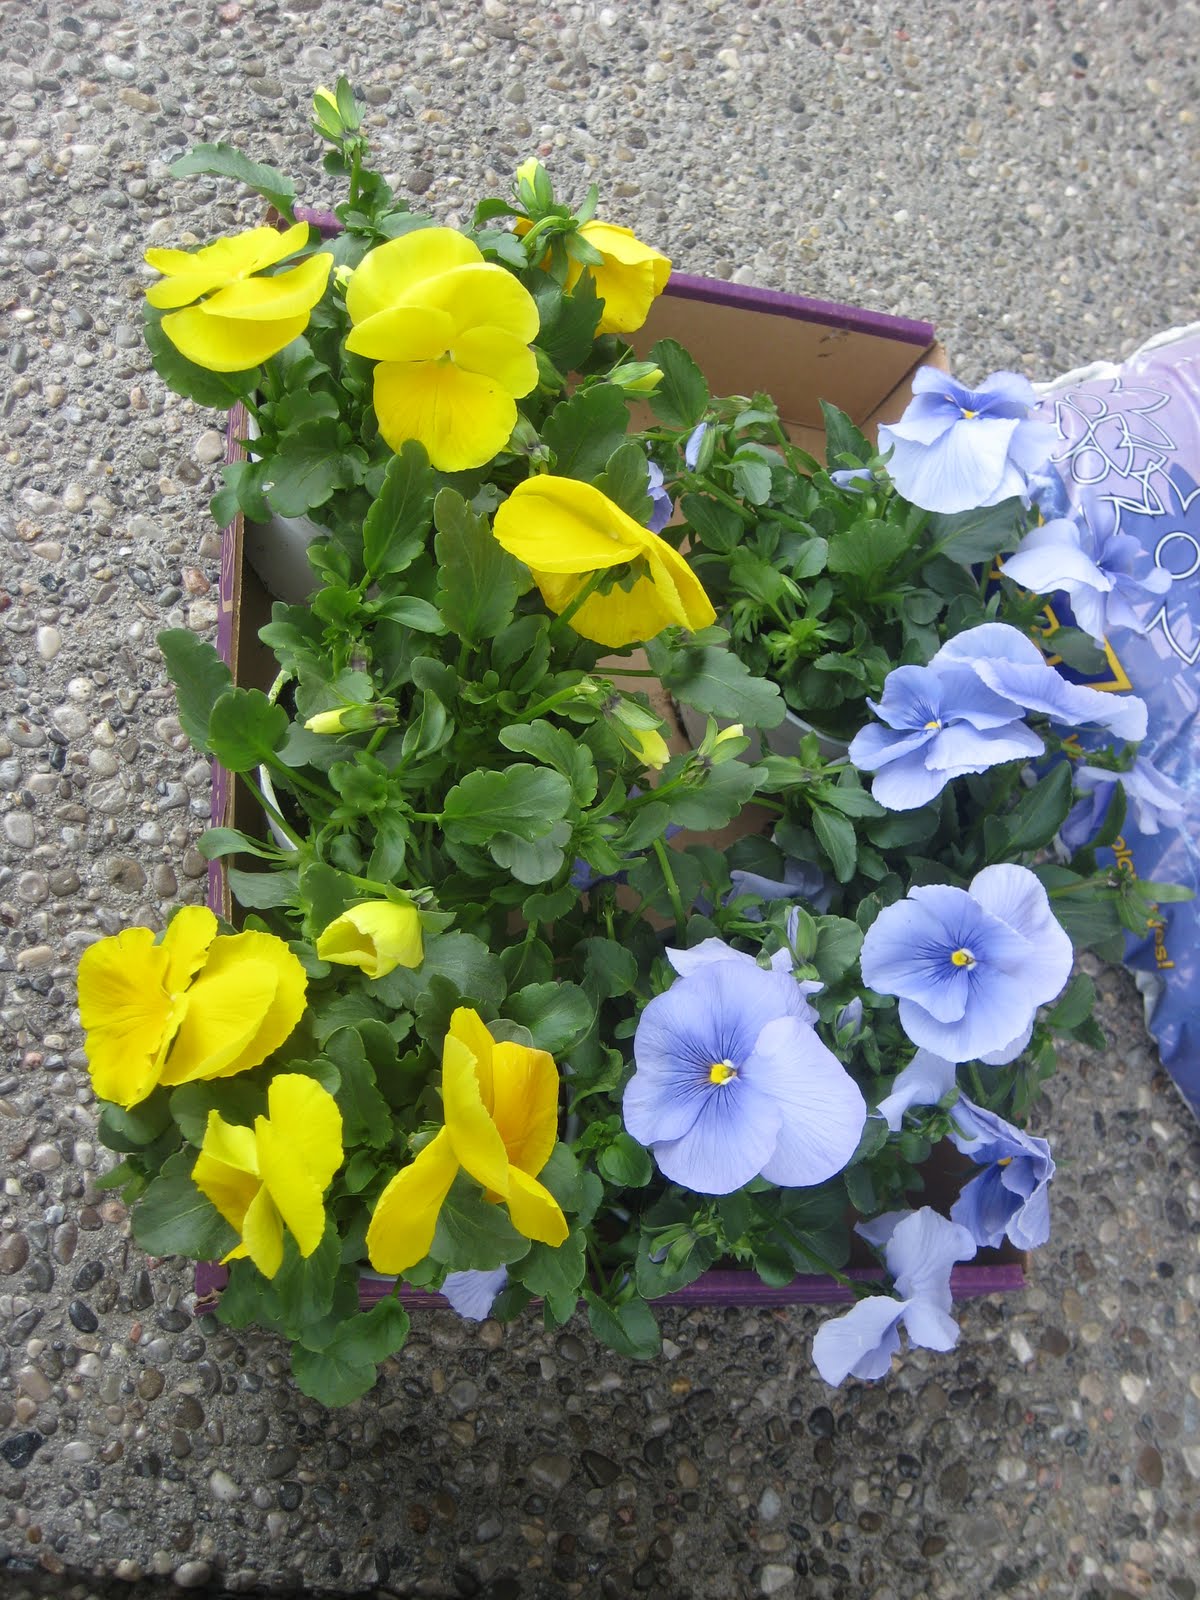
-I often get asked “What can I plant and when?” The simple answer is: If the local nursery is selling it, it’s safe to plant now. So, that’s why there are lots of shrubs and spring bulbs out right now at the garden center. They are all safe to plant. But if you are impulsive and attracted to pretty shiny things like I am, then you’ll need to approach the nursery with care .It’s full of spring blooming shrubs right now. And it’s easy to get distracted by the flowering Forsythia and the scented Lilac, not realizing that they only bloom for a few short weeks in the spring. The rest of the growing year they will be green, simply green, a pretty green, but just green. Are you willing to give up valuable space in your garden for a few weeks of show? If so, by all means, go for it. Just remember that there are other plants that offer something for summer and fall and that they might not be available yet. I’m just putting it out there.


Saturday 23 April 2011

Bad Practice Or...

How To Kill A Tree And Maim A Shrub…A Little Plant Physiology

Not really, after all, I love all plants and would never want to see any die. But there are several ways you can kill them unintentionally.  So, a quick lesson in woody plant physiology…

Without getting overly technical, there are five parts to a tree or woody shrub that we should be aware of.  They are illustrated in the diagram below:

1)      Bark: The bark is what protects the inner workings of a woody plant, similar to our skin.

2)      Phloem: This is the part that moves “food” that the leaves produce to the rest of the plant.

3)      Cambium: A thin layer of tissue which is responsible for cell reproduction. This is what causes a plant stem or trunk to grow in girth.

4)      Xylem:  Moves water and minerals from the root system to other parts of the plant.

5)      Heartwood: This is what your floors are made of. It’s the structure of the tree. The solid center.


The tree, shrub, branches, twigs …all of these have the same internal structure running up and down them. It’s how they move nutrients to where they are needed. It’s how the plant grows.  If you damage parts of the plant it interferes with it’s thriving and growing.

So how do you kill a tree and maim a shrub?

1)      Leave the tags on from the nursery. I have never understood why people leave the tags on their plants. It damages the branch they are attached to as they eventually get ripped off by wind, sleet and little kids. I don’t go walking around with the price tag on my clothes hanging out for months on end. Do you? No, of course not. A torn branch invites infection and disease. If you think you will never remember what you planted where, invest in some proper plant markers. Do not use popsicle sticks in the garden. They fade; they rot and are eventually eaten by dogs (my dog in particular). Cut off the tags and save them in a special gardening file with your receipt from when you purchased them (many nurseries offer warranties on their plants). If the plant markers go missing you’ll have a picture on the tag to compare to what is blooming in your garden.

There's the tag, right next to the ADT sign.

2)      Stake the tree/shrub. I am firmly against the practice of staking trees. It is simply not necessary and causes trouble in the long run. Trees/Shrubs need to develop a root base. The way they do this is by swaying in the wind and growing roots to stabilize them. If you stake them they don’t get a chance to develop a strong root system.  Furthermore, unless you are trying to create an espalier (training, typically a fruit tree, to grow on a flat plane) tying the tree to stakes can cause damage to the tree’s vascular system.  Some of the  materials I have seen used for tying plants to stakes are strips of burlap, twine, wire, zip ties and…I kid you not, shoelaces. It’s like tying a tourniquet around a limb which cuts off the blood supply. Eventually, if the tie is sharp enough, it will cut through the tree bark and start killing off the supply of nutrients to branches. If the tie is loose, it can rub against the bark of young saplings and allow in disease and infection. Either way, not a good idea.
This little tree is not going anywhere!
This j-cloth tie is doing absolutely nothing.

3)      Over Mulch.  Mulch snuggled up against the base of any plant, shrub or tree invites rot. There is a reason people use it to keep out weeds; it suffocates them. It will do the same to your plants if you drown them in mulch. A couple of inches of mulch, leaving room at the base of your plants, will suffice to keep out weeds and moisture in.

The one place homeowners routinely over mulch are their trees. If you live in a new subdivision, the city eventually comes and plants boulevard trees. Invariably, they do this in the heat of mid-summer, when it’s especially hard to keep thirsty plants satisfied.  To keep in moisture, a huge volcano-like moat of mulched bark is piled around the base of the newly planted tree.  It’s nearly always too much mulch, but at least the trunk of the tree isn’t buried under it. And the “moat” helps to keep the abundance of water a new tree needs in place, in theory. As seasons go by, the mulch degrades, as it’s supposed to do. At this point people often add a ton of new mulch and prop it up against the tree trunk‘s base. Not only does it look unsightly but it’s not healthy for the tree. It stresses the tree by keeping in excess moisture which invites root rot, insects and disease. Resist the urge to over mulch.
Mulch volcano

4)      Leave the burlap on.  Some trees, especially large ones do not come potted but wrapped in burlap with or without a wire cage around them. In the past it was common to only pull back the wire and the burlap and plunk the tree in the ground. The idea was that the burlap would eventually degrade and the roots make their way past the wire cage. Personally, I think, you are taking your chances doing this, especially in Southern Ontario or a new subdivision where virtually all the soil is clay and/or compacted. The roots are going to have a hard enough time as it is, why make it more difficult? When you buy Tulip bulbs you don’t dig a hole, throw in the package, store wrapping and all, and wish them good luck. You take the time to tuck them in individually and properly. Why not take a moment to do the same with your trees and shrubs? Sometimes, though, it’s not possible to remove the burlap wrapping. The tree may be too big and heavy to maneuver the burlap off. Whatever the reason, it may just not be possible. In that case, at least free the burlap from the base of the tree to give it room to breathe and grow before you fill in the hole.
You can see the yellow and black ties from the burlap still wrapped tightly against the tree trunk. Poor thing doesn't stand a chance. I am so tempted to free it, but don't want to be caught with a knife in someone else's yard. Too much explaining!

Do not do any of the above and your trees will thank you by growing happy, large and healthy!


Thursday 14 April 2011

Another Spring Planter

I had another inspiration, and plenty of left over potting soil! After another trip to the garden center I happily gathered my materials. I already had the planter, you can never own too many. I picked up some more yellow Pansies, curly Pussy Willow, and jute twine.


Once again, this pot is big for the space that Pansy roots need.


The easy solution is to take the plastic pots the Pansies came in and scrunch them into the bottom of the pot before adding the potting soil.


I filled the planter fairly close to the top with potting soil. This is because Pansies are short flowers and I want to be able to see them once they are planted. Of course, some of the dirt will spill over the edge when you are planting, but this is gardening, expect to get a little dirty.


The next step is to tuck in the Pansies. Gently. And then fill in the empty pockets with potting soil. I always water at this point too, because they need it and I find it helps to set the soil.


And here comes the tricky part...arranging the Pussy Willows. Arguably, this would be easier with regular straight Pussy Willows, but I'm a sucker for the "curly" type of anything!


I separated the Pussy Willows into three groups based on their size and color. I wanted the groups to have a similar length and look. Making sure that each grouping had close to the same amount of open Pussy willow buds.


When placing the Pussy Willow grouping into the planter the stems should be close to each other and the rim of the planter. As seen here...


Imagine that the circumference of the planter is divided into thirds. It's at those spots that you will insert your Pussy Willow groupings. It's a bit of an unruly task.


Once I got the first two groupings in I temporarily tied them off with twine to help them hold their place while I readied the third grouping.


After I placed the third grouping in place I tied it in with the other two loosely. This is the part where I take a good look at the "tee-pee" I've made with the Pussy Willow branches and see what needs to be finessed, cut out, or wrangled into submission! In this case, there were a few branches lower down that were going in the wrong direction, so I snipped them off. I managed to find a better spot for them, where they arched in the proper direction.


Once I had all the Pussy Willow branches arranged how I wanted them, I tied them off tightly at the top with a simple piece of jute twine, making sure to snip off any excess. Now, you could go big and add a showy ribbon. If you decide to go that route, a few caveats. First, make sure the ribbon is in a color that compliments your flowers and or other door front ornamentation. When in doubt, use a cream color. Second, please use a wide ribbon. I mean 2 inches in width, minimum. Anything smaller will look wimpy and insignificant. Personally, I like the attention to be on the flowers and branches so I used just that simple piece of twine.

And, voila! Here it is finished! I hope you like it.


Monday 11 April 2011

Creating A Spring Planter

With the weather being unseasonably warm these last few days I've been longing to just get outside and plant something already! So off I went to the local garden center to get my fix!
I really shouldn't be let anywhere near a nursery with a credit card...

Really, at this time of year, when we aren't past the risk of another frost (April 29th in Hamilton/Burlington), there aren't many flowers that are safe outside overnight. Except for the pansy, which can survive a late spring frost. Pansy flowers in bloom at the time of the frost might wilt, but the plant itself will survive to bloom the next day.
I decided to go with a yellow pansy as I have yellow faux Forsythia wreaths on my front door. I thought a nice accent color would be the pale blue pansy.
I gathered up all I needed. My planter, that I use for every seasonal display. My pansies, some curly willow branches and potting soil.
Since pansies are pretty low growing plants I wanted to plant them high up in the planter. A planter of this size can hold a lot of soil, which can be heavy. I usually stuff the plastic containers the plants are grown in into the bottom of the planter and then cover them with soil. That helps with drainage and makes the planter lighter to haul around.
I placed the blue pansies in the center of the planter and surrounded them with the yellow pansies. I planted the blue pansies just a tiny bit higher than the yellow so that the whole display would look mound-like. Pansies are short flowers and can use all the help they can get in the height department, especially when in a planter.
You can see here that the pansies really aren't that tall! The height of the pansies compared to the height of the planter is wrong. I need to add some height.
I chose these Curly Willow stems because of their color and delightful curliness! But Pussy Willows would do well too. I took one branch at a time and inserted them into the center of the planter, filling in bare spots as I went, being careful not to impale any pansies.
Here is the finished planter. In a few weeks the pansies will have grown and filled in any bare spots.
I think the planter display looks fabulous with my door wreaths!


Wednesday 6 April 2011

Small Trees For Small Yards

I love trees. They are the backbone of any good landscape design. They add structure and a back drop to a garden. They provide shade in the summer, color in the fall, and their branches hold snow in the most artistic way in the winter. What is not to love?

However, urban, and new suburban properties, don’t often have the space needed to allow for large trees.  Those 12’ x 3’ Maples and Ashes at the nursery will eventually grow to 60’ x 30’. These can take up most of today’s 20’ x 40’ backyard and the neighbor’s too! Today’s garden requires smaller trees that provide “bang for your buck”. With limited space, a good small garden tree should offer something for every season or do one thing spectacularly well. The following trees meet these requirements:

Shadblow Serviceberry   (Amelanchier Canadensis)

Native to Southern Ontario, the Serviceberry truly offers something for every season. In the spring this small tree (15’x15’) is covered in white flowers. Summer brings glossy green leaves and small red berries that can be used in baking and jams. Fall color is a spectacular red-orange.


 Eastern Redbud  (Cercis canadensis)

Also native to Southern Ontario, this tree reaches it’s maximum height and width at 15’x20’, making it a perfect size for a small yard. The spring brings showy pink-purple blooms that cover all the branches. Heart shaped leaves emerge with a distinctive purple hue, turning to glossy green.  It’s fall color is a bright yellow.


Chinese Dogwood (Cornus Kousa)

The horizontal branching of this small tree (15’x12’) makes for fantastic winter interest when covered with snow.  It’s bright white bracts last longer than flowers. This tree also has brilliant red fall color and interesting flaking bark.


A few other spectacular small trees that would be a perfect addition to any small garden are:

Amur Maple (Acer ginnala)

Japanese Maple (Acer palmatum)

Saucer Magnolia (Magnolia x soulangeana)


Wednesday 30 March 2011

Find your Passion

I was born to be a gardener. One of my earliest pictures has me sitting in a field of daisies, happily munching on a handful! Growing up, my mom had a huge garden with fruit trees and raspberry bushes. It was a July morning tradition to wake up and wander outdoors to pick my breakfast of fresh raspberries. They never made it to a bowl, just directly to my mouth. Pure bliss. Growing up, I would spend my afternoons in that garden, lying under the shade of a large grove of maples reading books. The afternoon sun would stream through the leaves making their canopy resemble a cathedral.

My love of gardens, plants, and the outdoors followed me wherever I went in life. My first apartment after university graduation was on the ground floor and had a patio overlooking a lush ravine. I happily purchased my first pot of spring flowers. How did I not know that this ravine was home to many wild animals? One, a big fat groundhog, loved nothing more than to stop by my planter for lunch followed by a nap on my sunny patio. Try as I might, any planter that I put out inevitably became a meal for that groundhog.

Later, after buying my first home in Ottawa I was lucky enough to fall in with a group of stay-at-home moms who loved their gardens. We would spend days planning, planting, and admiring each other’s garden beds. Outings with the kids were always to the local garden nursery. When I sold that house it came complete with a hand drawn guide to the flower beds. I miss that garden with it’s roses, Campanula and Russian Sage. I remember individual plants as if they were people. I wonder how they've grown and what has become of them.

I have now lived in Southern Ontario for 8 years and planted many new gardens. With each, I have learned and developed as a gardener. Nature is a fantastic teacher and my love for gardening has grown with every new lesson.

My Mother told me early on to find my passion and life and follow it. My passion is gardening and I have been happily living it my entire life.